This comprehensive guide will empower you to confidently install, operate, and maintain a Craftsman sleeve hitch on your garden tractor, transforming your mowing machine into a versatile workhorse. We'll cover installation, attachment of implements, operation, maintenance, and troubleshooting, providing both a product review and a step-by-step instructional guide. For more information on sleeve hitches, see this helpful resource: additional info.
Understanding Your Lawn Tractor Sleeve Hitch
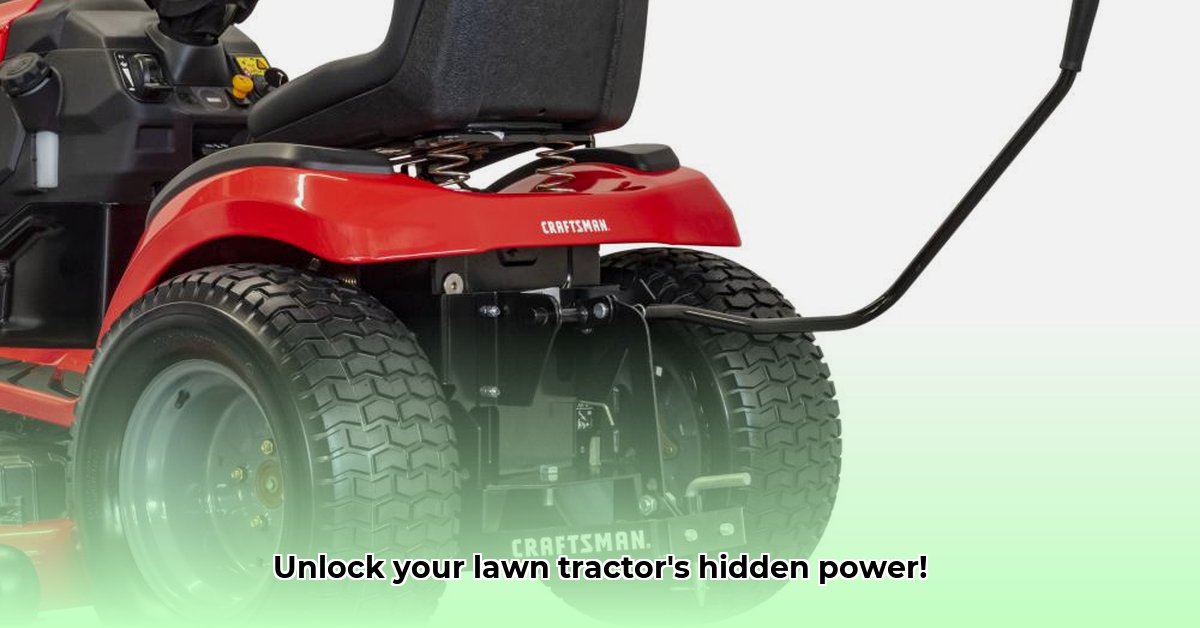
A sleeve hitch is a pivotal attachment that significantly expands your garden tractor's capabilities. It acts as a universal interface, allowing you to easily connect and disconnect various implements, such as tillers, plows, and other ground-engaging tools. This eliminates the need for separate mounting systems for each implement, saving time and effort. This guide focuses on the Craftsman sleeve hitch, a popular choice amongst Craftsman garden tractor owners.
Pros:
- Increased Versatility: Transforms your tractor into a multi-purpose machine.
- Simplified Attachment: Easy connection and disconnection of implements.
- Improved Efficiency: Reduces time and effort spent on yard work.
Cons:
- Weight Limitations: The hitch has a maximum weight capacity; exceeding this limit can damage the hitch and/or your tractor. Always check the manufacturer's specifications before attaching any implement.
- Compatibility Issues: Not all implements are compatible with all sleeve hitches. Verify compatibility before purchase to avoid frustration and wasted money. This is especially true for the Craftsman hitches sold through Lowe’s versus the Craftsman website. The models often differ slightly in fit and function.
- Limited Information: Clear and concise information on weight capacity and compatibility is often lacking in product descriptions. Thorough research before purchasing is recommended.
Installing Your Lawn Tractor Sleeve Hitch: A Step-by-Step Guide
Before you begin, consult your tractor's owner's manual. Gather necessary tools: sockets, wrenches, a level, and safety glasses.
- Preparation: Clear the area around the tractor. Ensure the tractor is turned off and the ignition key removed. Lay out all parts and tools. This prevents interruptions during the installation process.
- Mounting Brackets: Carefully attach the mounting brackets to your tractor's designated rear hitch points (check the manufacturer's instructions), using the provided hardware. Ensure the brackets are securely fastened and level. The brackets are typically bolted directly to the underside of the tractor chassis.
- Hitch Connection: Attach the sleeve hitch to the mounted brackets. Tighten all bolts firmly, but avoid over-tightening. Double-check that all connections are secure. Use a level to ensure proper alignment.
- Test Run: Before attaching implements, raise and lower the hitch several times to verify smooth operation and check for any binding or unusual noises. This helps to identify and rectify any potential issues early on.
Attaching Implements: Expanding Your Tractor's Capabilities
This section details how to connect various implements to your sleeve hitch. Always refer to the individual implement's instructions for specific guidance.
- Alignment: Carefully align the implement's pins or mounting points with the hitch's receiver sleeves. A slight amount of force might be needed, but avoid excessive force; a tight, secure fit is preferable to a forced fit.
- Securing: Once the implement is properly aligned, secure it with the appropriate pins or fasteners. Double-check that all connections are tight and secure.
- Angle Adjustment: Many implements require adjustments to the angle for optimal performance. Follow the implement's instructions for the correct adjustment. Experiment if necessary and verify that it operates efficiently.
Operating and Maintaining Your Sleeve Hitch: Ensuring Longevity
Proper operation and regular maintenance are crucial for the longevity of your sleeve hitch.
- Safe Operation: Always lower the hitch before turning off the tractor. Inspect all connections before each use to ensure everything is tight and secure. Never exceed the hitch's weight capacity.
- Regular Maintenance: Periodically inspect the hitch for damage, wear, or loose parts. Lubricate moving parts as needed. Clean off mud and debris after each use. Replace worn parts promptly. This proactive maintenance helps prevent potential problems and costly repairs.
Troubleshooting Common Problems: Addressing Potential Issues
Here's a table addressing common issues and their solutions.
| Problem | Possible Causes | Troubleshooting Steps |
|---|---|---|
| Hitch won't raise/lower | Bent linkage, worn parts, loose connections | Inspect linkage for bends; replace worn parts; tighten all connections. |
| Implement slips | Improper connection, loose fasteners | Ensure secure connection; tighten all fasteners. |
| Excessive vibration | Loose connections, improper implement adjustment | Tighten all connections; re-adjust implement angle. |
If problems persist, consult your tractor's manual or seek professional assistance. Remember, safety is paramount.
Remember to always consult your owner's manuals for both your tractor and the specific implements you're using. Proper usage and maintenance will maximize the lifespan of your Craftsman sleeve hitch.